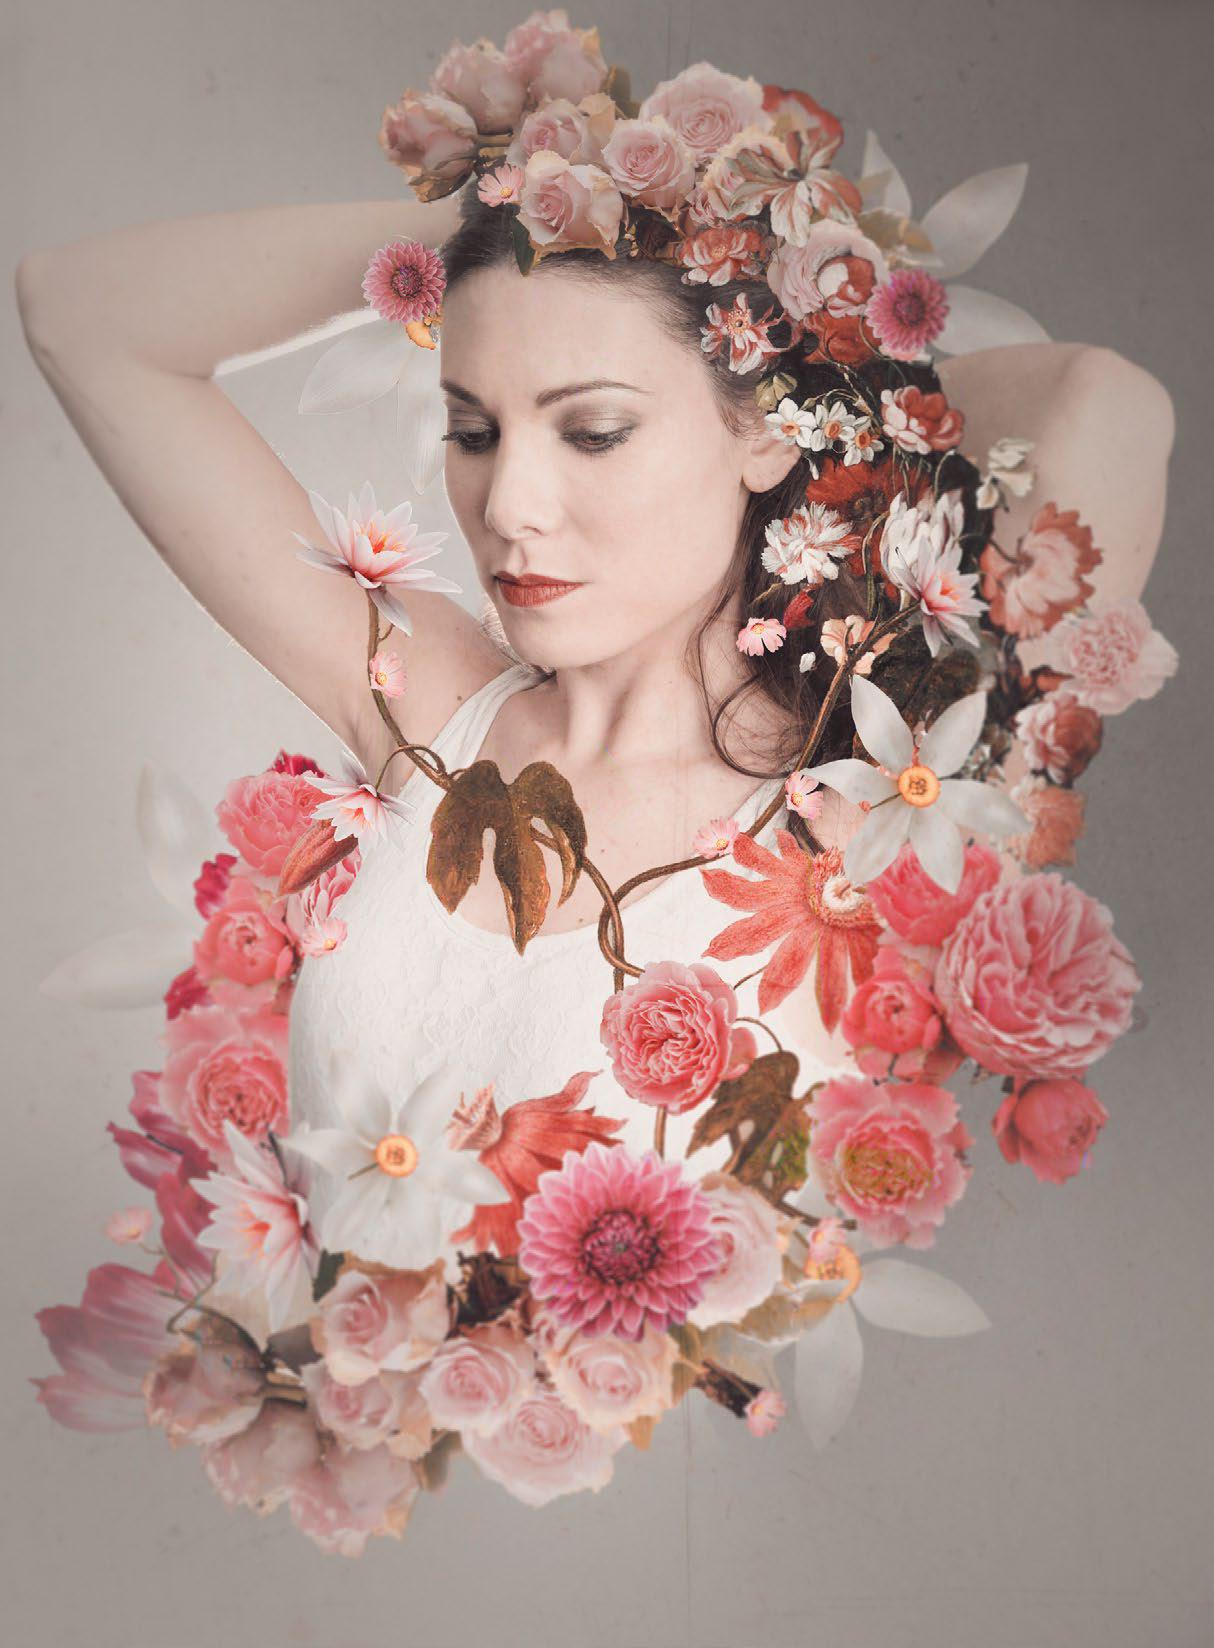
Compositing is one of the most creative techniques in image editing, and it’s easier than you might think. All it takes is a few simple layer skills. Affinity Photo offers a host of useful compositing tools to get you started, from clever selection features that let you isolate and cut out objects, to intuitive masking and transforming tools that let you position each element with ease and blend everything together into a cohesive whole. In this project, we’ll explore these tools and features while creating a great flower portrait composite.
We begin by cutting out our subject so that we can place flowers in front and behind the figure. Once done, we can copy in a range of flower images, using selections and masks to remove their backgrounds and then placing them to fit around the subject. This involves one of the most powerful selection tools in Affinity Photo – the Refine command. It allows us to make incredibly precise selections by seeking out and improving edges for us. We’ve supplied a portrait for you to use (download link on the left), but why not shoot your own? All you need to do is photograph a person against a plain wall. You can also take some flower photos if you like or – as we have done – make use of free downloadable flower images from sites like Pixabay and WikiCommons. After combining the flowers with the portrait, we can use a few simple tricks ranging from help everything come together, from blur filters to creative colour shifts.
Diese Geschichte stammt aus der January 2023-Ausgabe von PhotoPlus : The Canon Magazine.
Starten Sie Ihre 7-tägige kostenlose Testversion von Magzter GOLD, um auf Tausende kuratierte Premium-Storys sowie über 8.000 Zeitschriften und Zeitungen zuzugreifen.
Bereits Abonnent ? Anmelden
Diese Geschichte stammt aus der January 2023-Ausgabe von PhotoPlus : The Canon Magazine.
Starten Sie Ihre 7-tägige kostenlose Testversion von Magzter GOLD, um auf Tausende kuratierte Premium-Storys sowie über 8.000 Zeitschriften und Zeitungen zuzugreifen.
Bereits Abonnent? Anmelden

The Art of Copying Art - James Paterson shows you how to use your Canon gear to capture artwork and paintings the right way with simple camera and lighting skills
Whether you want to capture a painting like the above, digitise old prints or reproduce any kind of canvas, there's real skill in capturing artwork with your camera. Not only do you need the colours to be accurate, you also need to master the spread, angle and quality of the light to minimise glare and show the work at its best.This painting by the artist Bryan Hanlon has a wonderfully subtle colour palette. To reproduce the painting in print and digital form, it needs to be captured in the right way.

Fright night
Canon photographer and digital artist Alexander loves to craft incredible fantasy scenes with a spooky horror twist

Sharpen your shots with DPP
Sharpening a digital image also increases contrast at the edge of details

CANON ImagePrograf PRO-1100
Deeper blacks, better bronzing, greater lifespan and 5G Wi-Fi -Canon's new printer is full of new tech, says

Canon's new 'kit lens' is actually a half-price f/2.8 trinity lens!
The Canon RF 28-70mm F2.8 IS STM lacks a red ring, but borrows premium features from its L-series siblings

DREW GIBSON
Pro motorsports photographer Drew on why he hasn't (yet) switched to Canon's mirrorless system, why old-school techniques can be the most reliable, and the lessons learned from more than a decade shooting the world's biggest car brands

Up in smoke
Make a smoky shape in Affinity Photo and get to grips with the amazing Liquify Persona under the guidance of James Paterson

Expand your creativity with Generative Fill
Photoshop's Al-powered feature brings revolutionary new tools to image editing. James Paterson reveals all...

Turn your images into vintage postcards
Wish you were here? Sean McCormack explains how you can give your summer photographs a vintage postcard look

The Angel Malibu
Light painting an American movie producer in the Wadi Rum Desert in Jordan was a highly unlikely evening out for David!