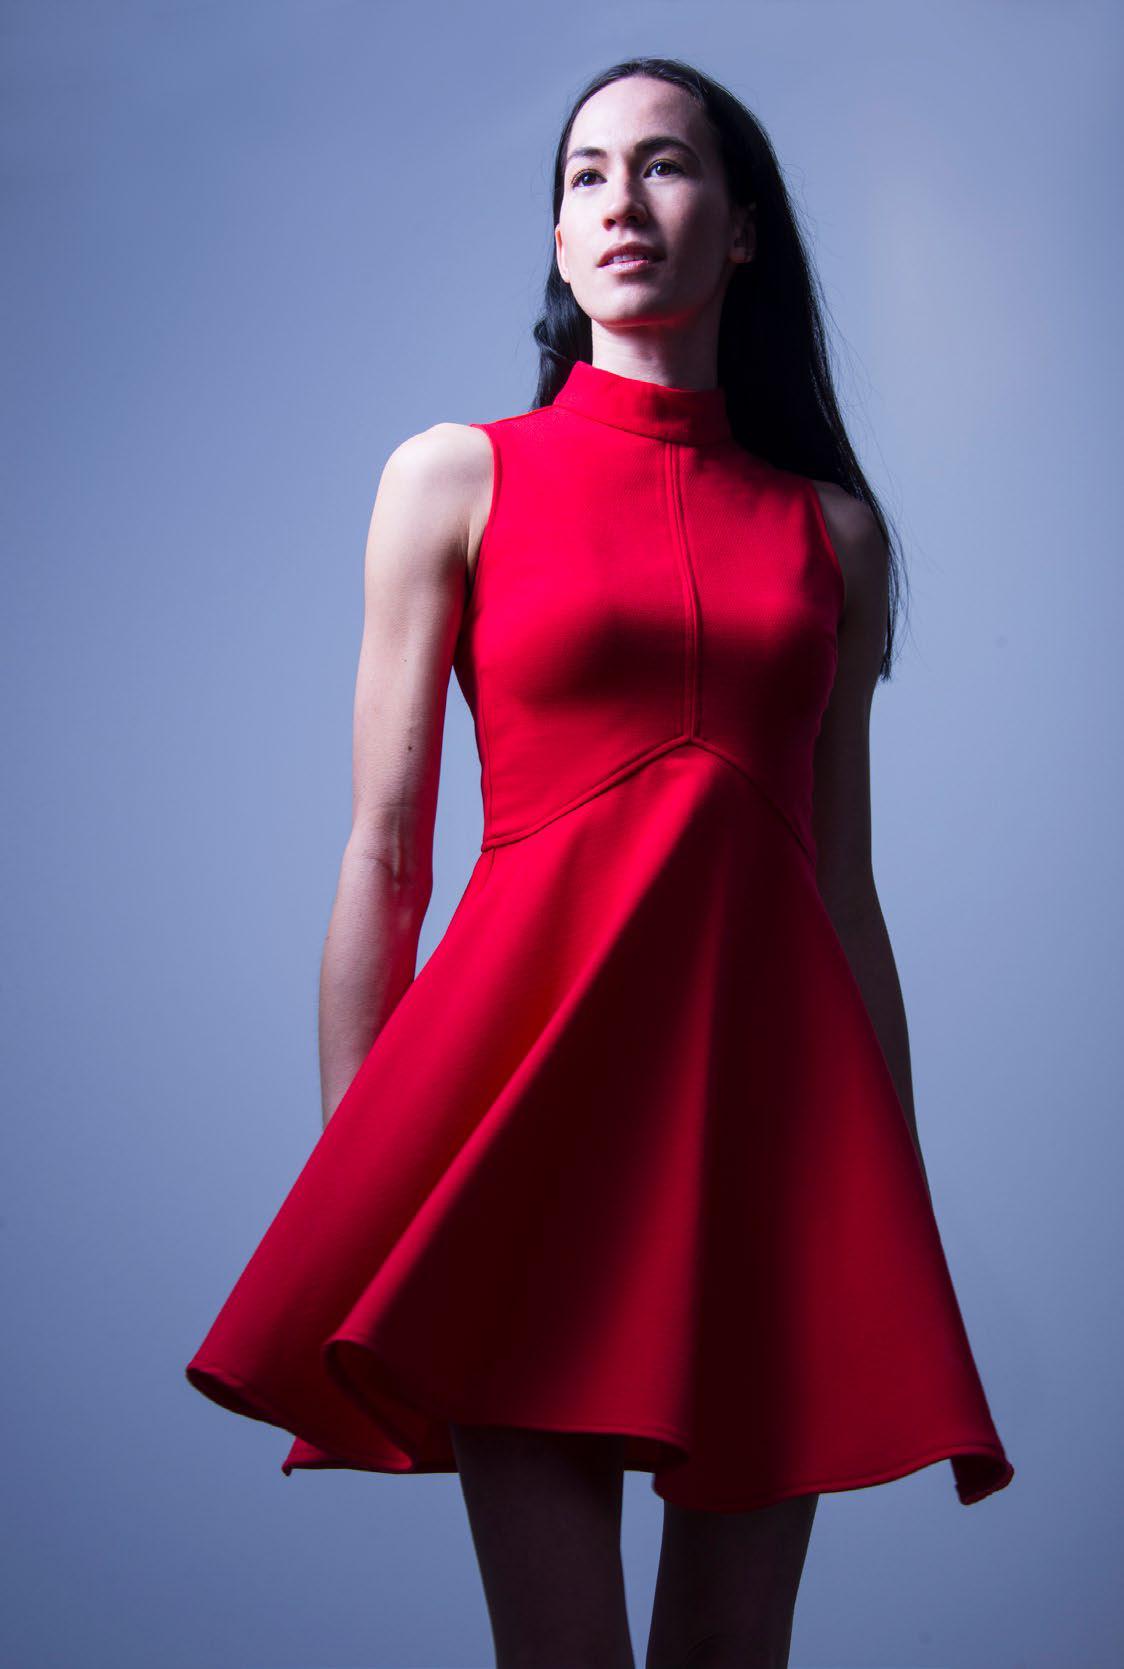
Affinity Photo offers all kinds of tools for blending images together, from layer blending modes to masking and more. In this project, we’ll take advantage of clipping, which allows us to position one layer inside the shape of another. This way, we can break our portrait down into several simple shades of grey then clip textures to each. To begin by using the Posterize effect, which allows us to simplify the image into just a few shades of grey. We’ve chosen to create four levels from white to black. From here, we can select the four areas of brightness using the Magic Wand tool and create separate layers for each.
Now the fun begins, as we can simply copy in different textures and colourful abstract images, then drag them on top of each layer so that the texture is confined to the shape of the layer. It lets us fill in each area of brightness with an image of our choice. We’ve supplied a free set of 15 textures for you to experiment with – see download link on the left. There’s colourful soap bubble images, rusty trays and close-up details. Not only are textures like this useful for this effect, they’re also a fun way to get creative with image blending for all sorts of interesting results. Try copying a texture on top of any photo then simply go to the Layers Panel and experiment with the layer blend modes. The Overlay, Multiply and Screen modes often work well.
STEP BY STEP
SURREAL PORTRAIT EFFECTS
Learn how to clip layers in Affinity Photo to create a striking portrait effect
Esta historia es de la edición September 2023 de PhotoPlus : The Canon Magazine.
Comience su prueba gratuita de Magzter GOLD de 7 días para acceder a miles de historias premium seleccionadas y a más de 9,000 revistas y periódicos.
Ya eres suscriptor ? Conectar
Esta historia es de la edición September 2023 de PhotoPlus : The Canon Magazine.
Comience su prueba gratuita de Magzter GOLD de 7 días para acceder a miles de historias premium seleccionadas y a más de 9,000 revistas y periódicos.
Ya eres suscriptor? Conectar
The Art of Copying Art - James Paterson shows you how to use your Canon gear to capture artwork and paintings the right way with simple camera and lighting skills
Whether you want to capture a painting like the above, digitise old prints or reproduce any kind of canvas, there's real skill in capturing artwork with your camera. Not only do you need the colours to be accurate, you also need to master the spread, angle and quality of the light to minimise glare and show the work at its best.This painting by the artist Bryan Hanlon has a wonderfully subtle colour palette. To reproduce the painting in print and digital form, it needs to be captured in the right way.
Fright night
Canon photographer and digital artist Alexander loves to craft incredible fantasy scenes with a spooky horror twist

Sharpen your shots with DPP
Sharpening a digital image also increases contrast at the edge of details

CANON ImagePrograf PRO-1100
Deeper blacks, better bronzing, greater lifespan and 5G Wi-Fi -Canon's new printer is full of new tech, says
Canon's new 'kit lens' is actually a half-price f/2.8 trinity lens!
The Canon RF 28-70mm F2.8 IS STM lacks a red ring, but borrows premium features from its L-series siblings

DREW GIBSON
Pro motorsports photographer Drew on why he hasn't (yet) switched to Canon's mirrorless system, why old-school techniques can be the most reliable, and the lessons learned from more than a decade shooting the world's biggest car brands
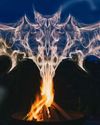
Up in smoke
Make a smoky shape in Affinity Photo and get to grips with the amazing Liquify Persona under the guidance of James Paterson

Expand your creativity with Generative Fill
Photoshop's Al-powered feature brings revolutionary new tools to image editing. James Paterson reveals all...

Turn your images into vintage postcards
Wish you were here? Sean McCormack explains how you can give your summer photographs a vintage postcard look
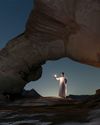
The Angel Malibu
Light painting an American movie producer in the Wadi Rum Desert in Jordan was a highly unlikely evening out for David!