There’s more to white balance than getting the whites balanced; it’s about every colour in the image. There are two ways to do this: you can set the white balance in the camera, or shoot in raw and set it afterwards with the same results. The best practice is to set it in-camera, but sometimes this isn’t practical. By shooting in raw, you can leave your white balance to Auto WB, safe in the knowledge that you can tweak it afterwards if necessary.
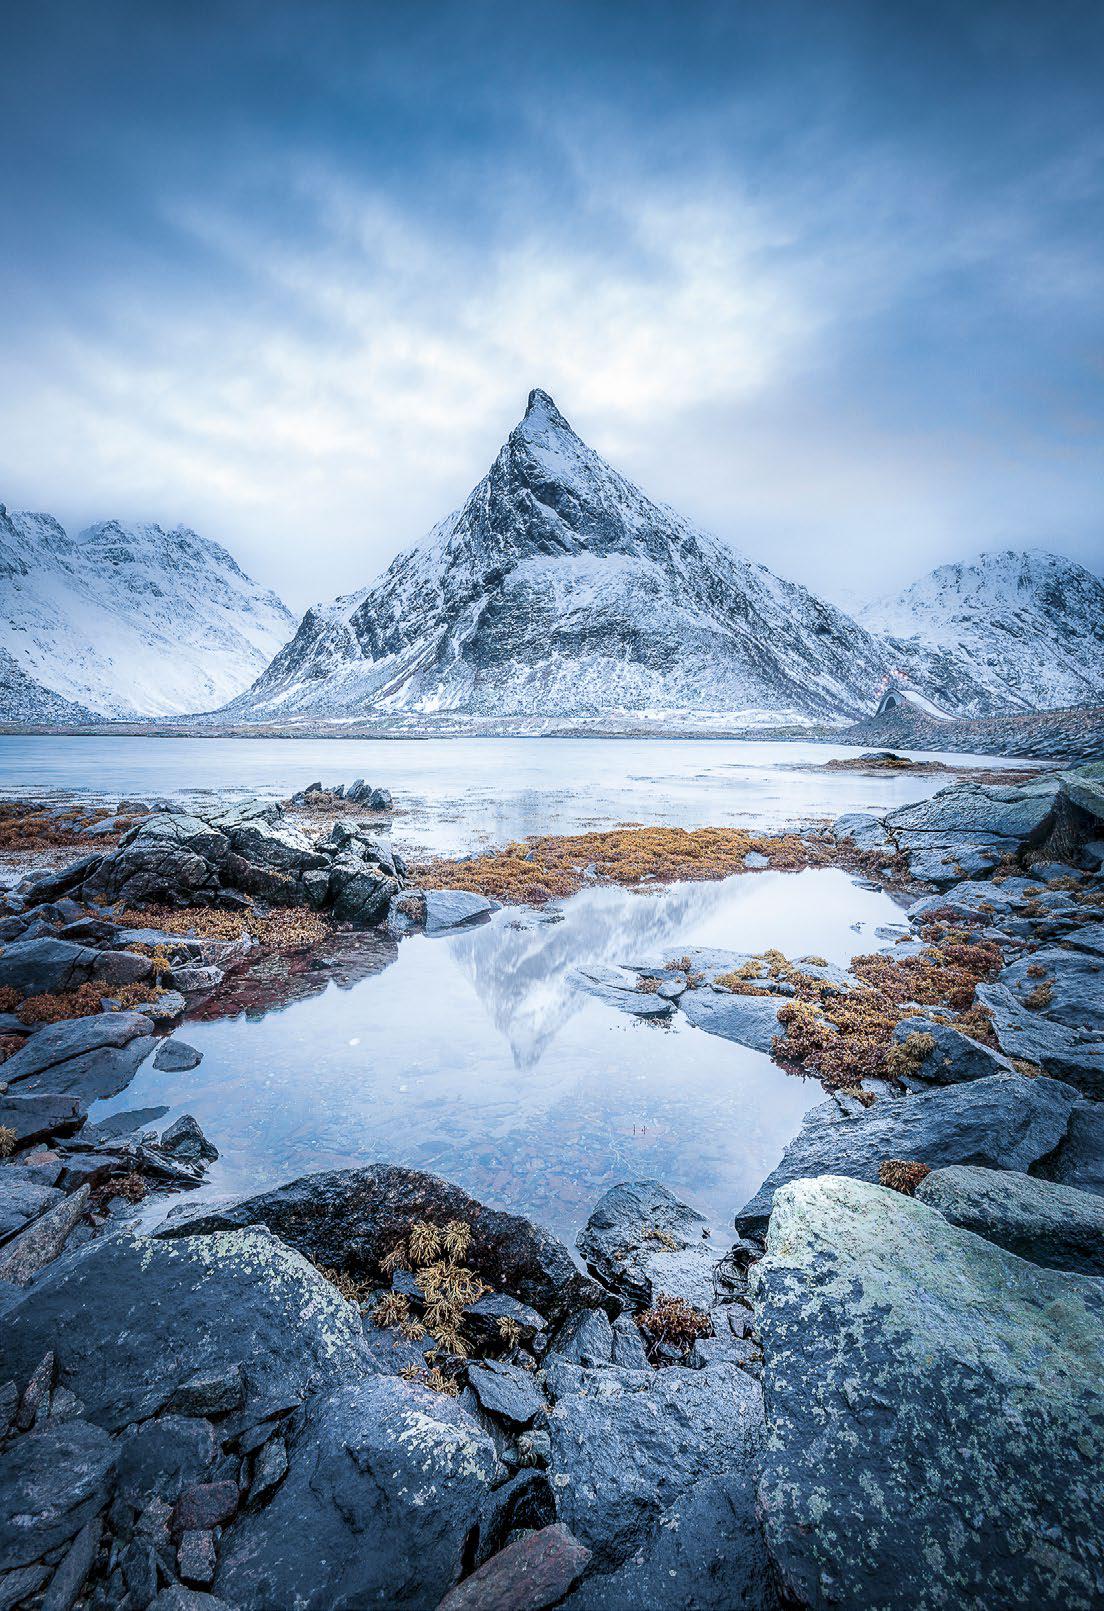
Photoshop’s Camera Raw and Lightroom offer near-identical white balance tools, either in the Basic panel in Camera Raw or the Develop module in Lightroom. The tools are very simple, but there are some essential tricks to learn that can help you get the most out of them. What’s more, one of the great things about white balance tools is how you can use them selectively in different areas of the photo. With a landscape like the one pictured above, it means we can pull out a touch of warmth in the sky while also correcting the overall cool cast to the scene.
Max the saturation
Sometimes it can be tricky to determine the right white balance settings, especially if there isn’t an obvious neutral area to sample with the eyedropper tool. A handy trick if you’re struggling is to temporarily slide the Saturation and Vibrance sliders all the way to 100%.
This story is from the {{IssueName}} edition of {{MagazineName}}.
Start your 7-day Magzter GOLD free trial to access thousands of curated premium stories, and 9,000+ magazines and newspapers.
Already a subscriber ? Sign In
This story is from the {{IssueName}} edition of {{MagazineName}}.
Start your 7-day Magzter GOLD free trial to access thousands of curated premium stories, and 9,000+ magazines and newspapers.
Already a subscriber? Sign In

Nikon Z50 II
Brand's original DX-format Z-series mirrorless gets turbocharged with Expeed 7 processor

Eric Meola
The American photographer's latest book is called Bending Light: The Moods of Color. Niall Hampton finds out more

Lumix FZ82D
Panasonic shows that bridge cameras aren't dead yet

Art Wolfe & Federico Veronesi
Two long-term contributors to Remembering Wildlife - and members of the competition judging panel - reflect on the series reaching its 10-year milestone

Scanning ahead...
AI is no substitute for experiencing the world and telling compelling stories, says Jon Devo

10 Years of Remembering Wildlife
ENTER TODAY! Submit your images of pangolins in the wild - or any of the previous nine species to have featured in the Remembering Wildlife series - for the chance to be featured in the next book

Enhance your wildlife subjects
Using simple techniques in Photoshop, James Abbott shows how to make wildlife subjects stand out from their background

Edit fast with slider pairs
For effective editing results, combine pairs of sliders in Lightroom, says Sean McCormack

Reader gallery
Digital Camera readers show how they've been getting creative, submitting images across a range of genres

Hotshots
Our showcase of the winning entries from the Nikon Comedy Wildlife Awards 2024