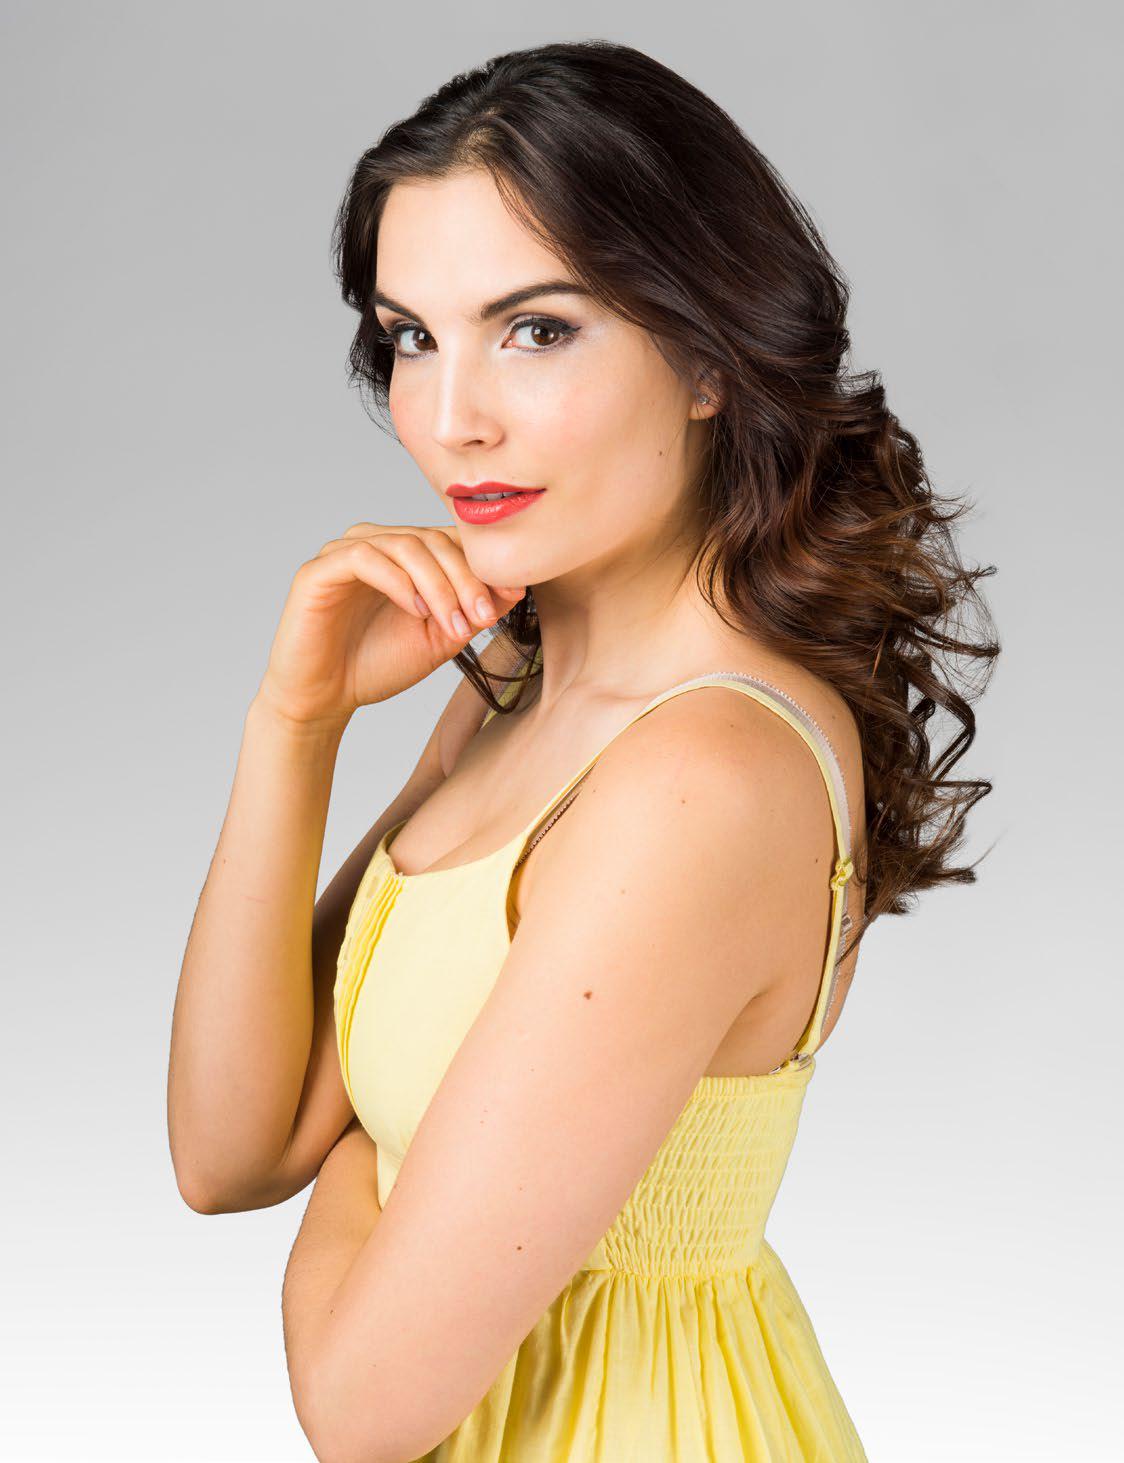
Affinity Photo is a great tool for photo editing, but it’s also brilliant for making abstract images and incorporating elements of graphic design into your photography. In this project, we explain how to combine your photos with triangle shapes for an inventive effect that would look great as a wallpaper for your computer or phone. The technique for this encompasses lots of fundamental Affinity Photo skills, from shifting images and shapes around to using shadows and adjustment layers. It’s also a good example of how you can make use of shortcuts to speed up your editing.
While the build-up of shapes here might look complicated, it really only takes a few minutes to create. We begin by making a handful of triangle shapes and a few lines to go with them. This is a simple task with the array of shape tools in Affinity Photo. From here, we can merge our shapes and then drop them on top of our portrait image. This bit can be a bit fiddly – there’s a few ways to drop one layer on to another, and we need to take care that the shape layer latches to the side of the image layer thumbnail, so that the side of the thumbnail turns blue. This way, the only parts of the portrait that are visible are those that are directly on top of the shape. Once done, we can add a shadow to give the illusion of depth to our effect, then simply copy and reposition the portrait and shapes to build it up.
QUICK TIP!
この記事は PhotoPlus : The Canon Magazine の August 2022 版に掲載されています。
7 日間の Magzter GOLD 無料トライアルを開始して、何千もの厳選されたプレミアム ストーリー、9,000 以上の雑誌や新聞にアクセスしてください。
すでに購読者です ? サインイン
この記事は PhotoPlus : The Canon Magazine の August 2022 版に掲載されています。
7 日間の Magzter GOLD 無料トライアルを開始して、何千もの厳選されたプレミアム ストーリー、9,000 以上の雑誌や新聞にアクセスしてください。
すでに購読者です? サインイン

The Art of Copying Art - James Paterson shows you how to use your Canon gear to capture artwork and paintings the right way with simple camera and lighting skills
Whether you want to capture a painting like the above, digitise old prints or reproduce any kind of canvas, there's real skill in capturing artwork with your camera. Not only do you need the colours to be accurate, you also need to master the spread, angle and quality of the light to minimise glare and show the work at its best.This painting by the artist Bryan Hanlon has a wonderfully subtle colour palette. To reproduce the painting in print and digital form, it needs to be captured in the right way.

Fright night
Canon photographer and digital artist Alexander loves to craft incredible fantasy scenes with a spooky horror twist

Sharpen your shots with DPP
Sharpening a digital image also increases contrast at the edge of details

CANON ImagePrograf PRO-1100
Deeper blacks, better bronzing, greater lifespan and 5G Wi-Fi -Canon's new printer is full of new tech, says

Canon's new 'kit lens' is actually a half-price f/2.8 trinity lens!
The Canon RF 28-70mm F2.8 IS STM lacks a red ring, but borrows premium features from its L-series siblings

DREW GIBSON
Pro motorsports photographer Drew on why he hasn't (yet) switched to Canon's mirrorless system, why old-school techniques can be the most reliable, and the lessons learned from more than a decade shooting the world's biggest car brands

Up in smoke
Make a smoky shape in Affinity Photo and get to grips with the amazing Liquify Persona under the guidance of James Paterson

Expand your creativity with Generative Fill
Photoshop's Al-powered feature brings revolutionary new tools to image editing. James Paterson reveals all...

Turn your images into vintage postcards
Wish you were here? Sean McCormack explains how you can give your summer photographs a vintage postcard look

The Angel Malibu
Light painting an American movie producer in the Wadi Rum Desert in Jordan was a highly unlikely evening out for David!