Rubbing Out Arm R Seal & Questions
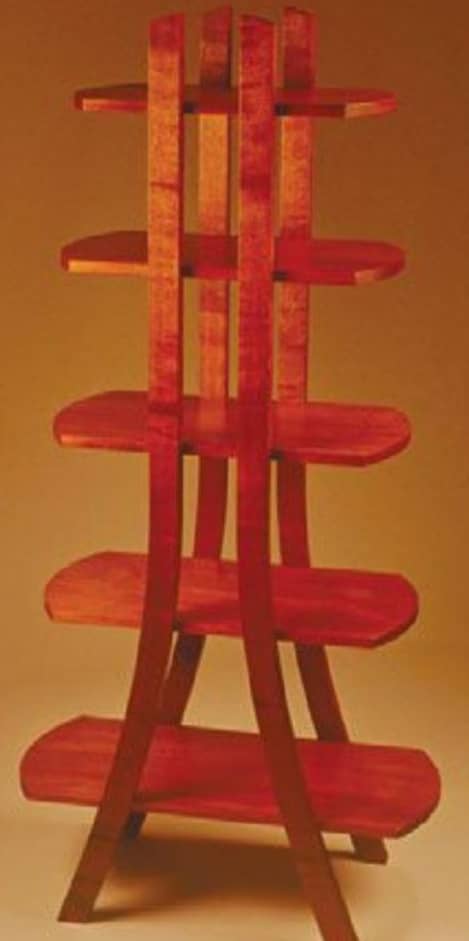
RUBBING OUT ARM R SEAL
While I do lots of rubbing out techniques on lacquer, my approach to rubbing out General Finishes’ Arm R Seal is different. Lacquer is a much harder (or should I say brittle) finish and behaves differently. You can wet sand, and polish or buff lacquer with excellent results, because each layer melts into the previous one.
Arm-R-Seal is a family of urethane resin topcoats, which produce a durable and long-lasting finish. Oil-based, they are essentially a thinned down varnish, designed to be wiped on and wiped off. I always build all of my coats of finish with gloss, no matter if it is lacquer, varnish, oil, or polyurethane. In some cases when I want a satin finish, I will apply a coat of satin as the final coat. In other cases, I will use rubbing out techniques to dull down the finish.
My approach to Arm R Seal is to build all of the coats with gloss, wiping it on, wiping it off, then letting it dry overnight. The next day, I rub the surface with 0000 steel wool, blow the dust off, and apply another coat. My goal is to have the last coat looking perfect, after I finish carefully wiping it off and then buffing it with a clean, soft, cloth. Sometimes, Murphy's Law gets in the way, and things do not come out looking so great. If I have something in the finish that looks like it needs to be flattened, for example some specs of dust or maybe a hair from a brush or some dried resin, then I can usually level it with some very light sanding with 600 grit sanding paper.
From there, I can rub the entire surface with 0000 steel wool to blend the sheen and make it uniform. After that, I would apply another coat of gloss oil to fill in any small scratches from the 600 grit sandpaper and let that dry overnight. If this looks good, then the finish is complete.
Esta historia es de la edición January.- February 2019 de Woodworker West.
Comience su prueba gratuita de Magzter GOLD de 7 días para acceder a miles de historias premium seleccionadas y a más de 9,000 revistas y periódicos.
Ya eres suscriptor ? Conectar
Esta historia es de la edición January.- February 2019 de Woodworker West.
Comience su prueba gratuita de Magzter GOLD de 7 días para acceder a miles de historias premium seleccionadas y a más de 9,000 revistas y periódicos.
Ya eres suscriptor? Conectar
Education: 2022 Design Emphasis
The next generation of furniture designers were on display at the 2022 Design Emphasis, the biennial student design competition exhibition held in conjunction with last summer’s International Woodworking Fair IWF) in Atlanta, GA.
Profile: Leo Litto
Leo Litto of Austin, TX is an award-winning maker of heirloom quality furniture. Here is Leo's story, in his own words:
Tools & Techniques
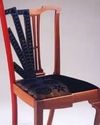
It’s All Problems
Profile: John P. McCormack
As the Port Townsend School of Woodworking welcomes master woodworkers from around the Northwest to their November Woodworking Show, we caught up with its newest faculty member, John P. McCormack. Here is John’s story in his own words:
From David Marks Studio- Patina Applications & Questions
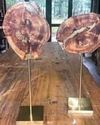
For years, many of you have read my discussions about gilding and chemical patination techniques, but are unsure about its application to your own work. I'd like to share a recent email from Sandra Walkin of Louisiana, who took my Gilding & Chemical & Patination class and a 2-day private class in 2015:
Education: NW Woodworking Studio
Education: NW Woodworking Studio

Tools & Techniques Small Shop Design
Tools & Techniques Small Shop Design
From David Marks Studio Answering Reader's Questions
From David Marks Studio Answering Reader's Questions
Profile: Marco Cecala
Marco Cecala of Phoenix, AZ is a talented craftsman, beginning a transition into full-time furnituremaking. Here is Marco’s story, in his own words:

Turning Topics AAW Members' Exhibition
Continuum