Configure and boot up your Raspberry Pi3B+ using a USB flash or hard drive
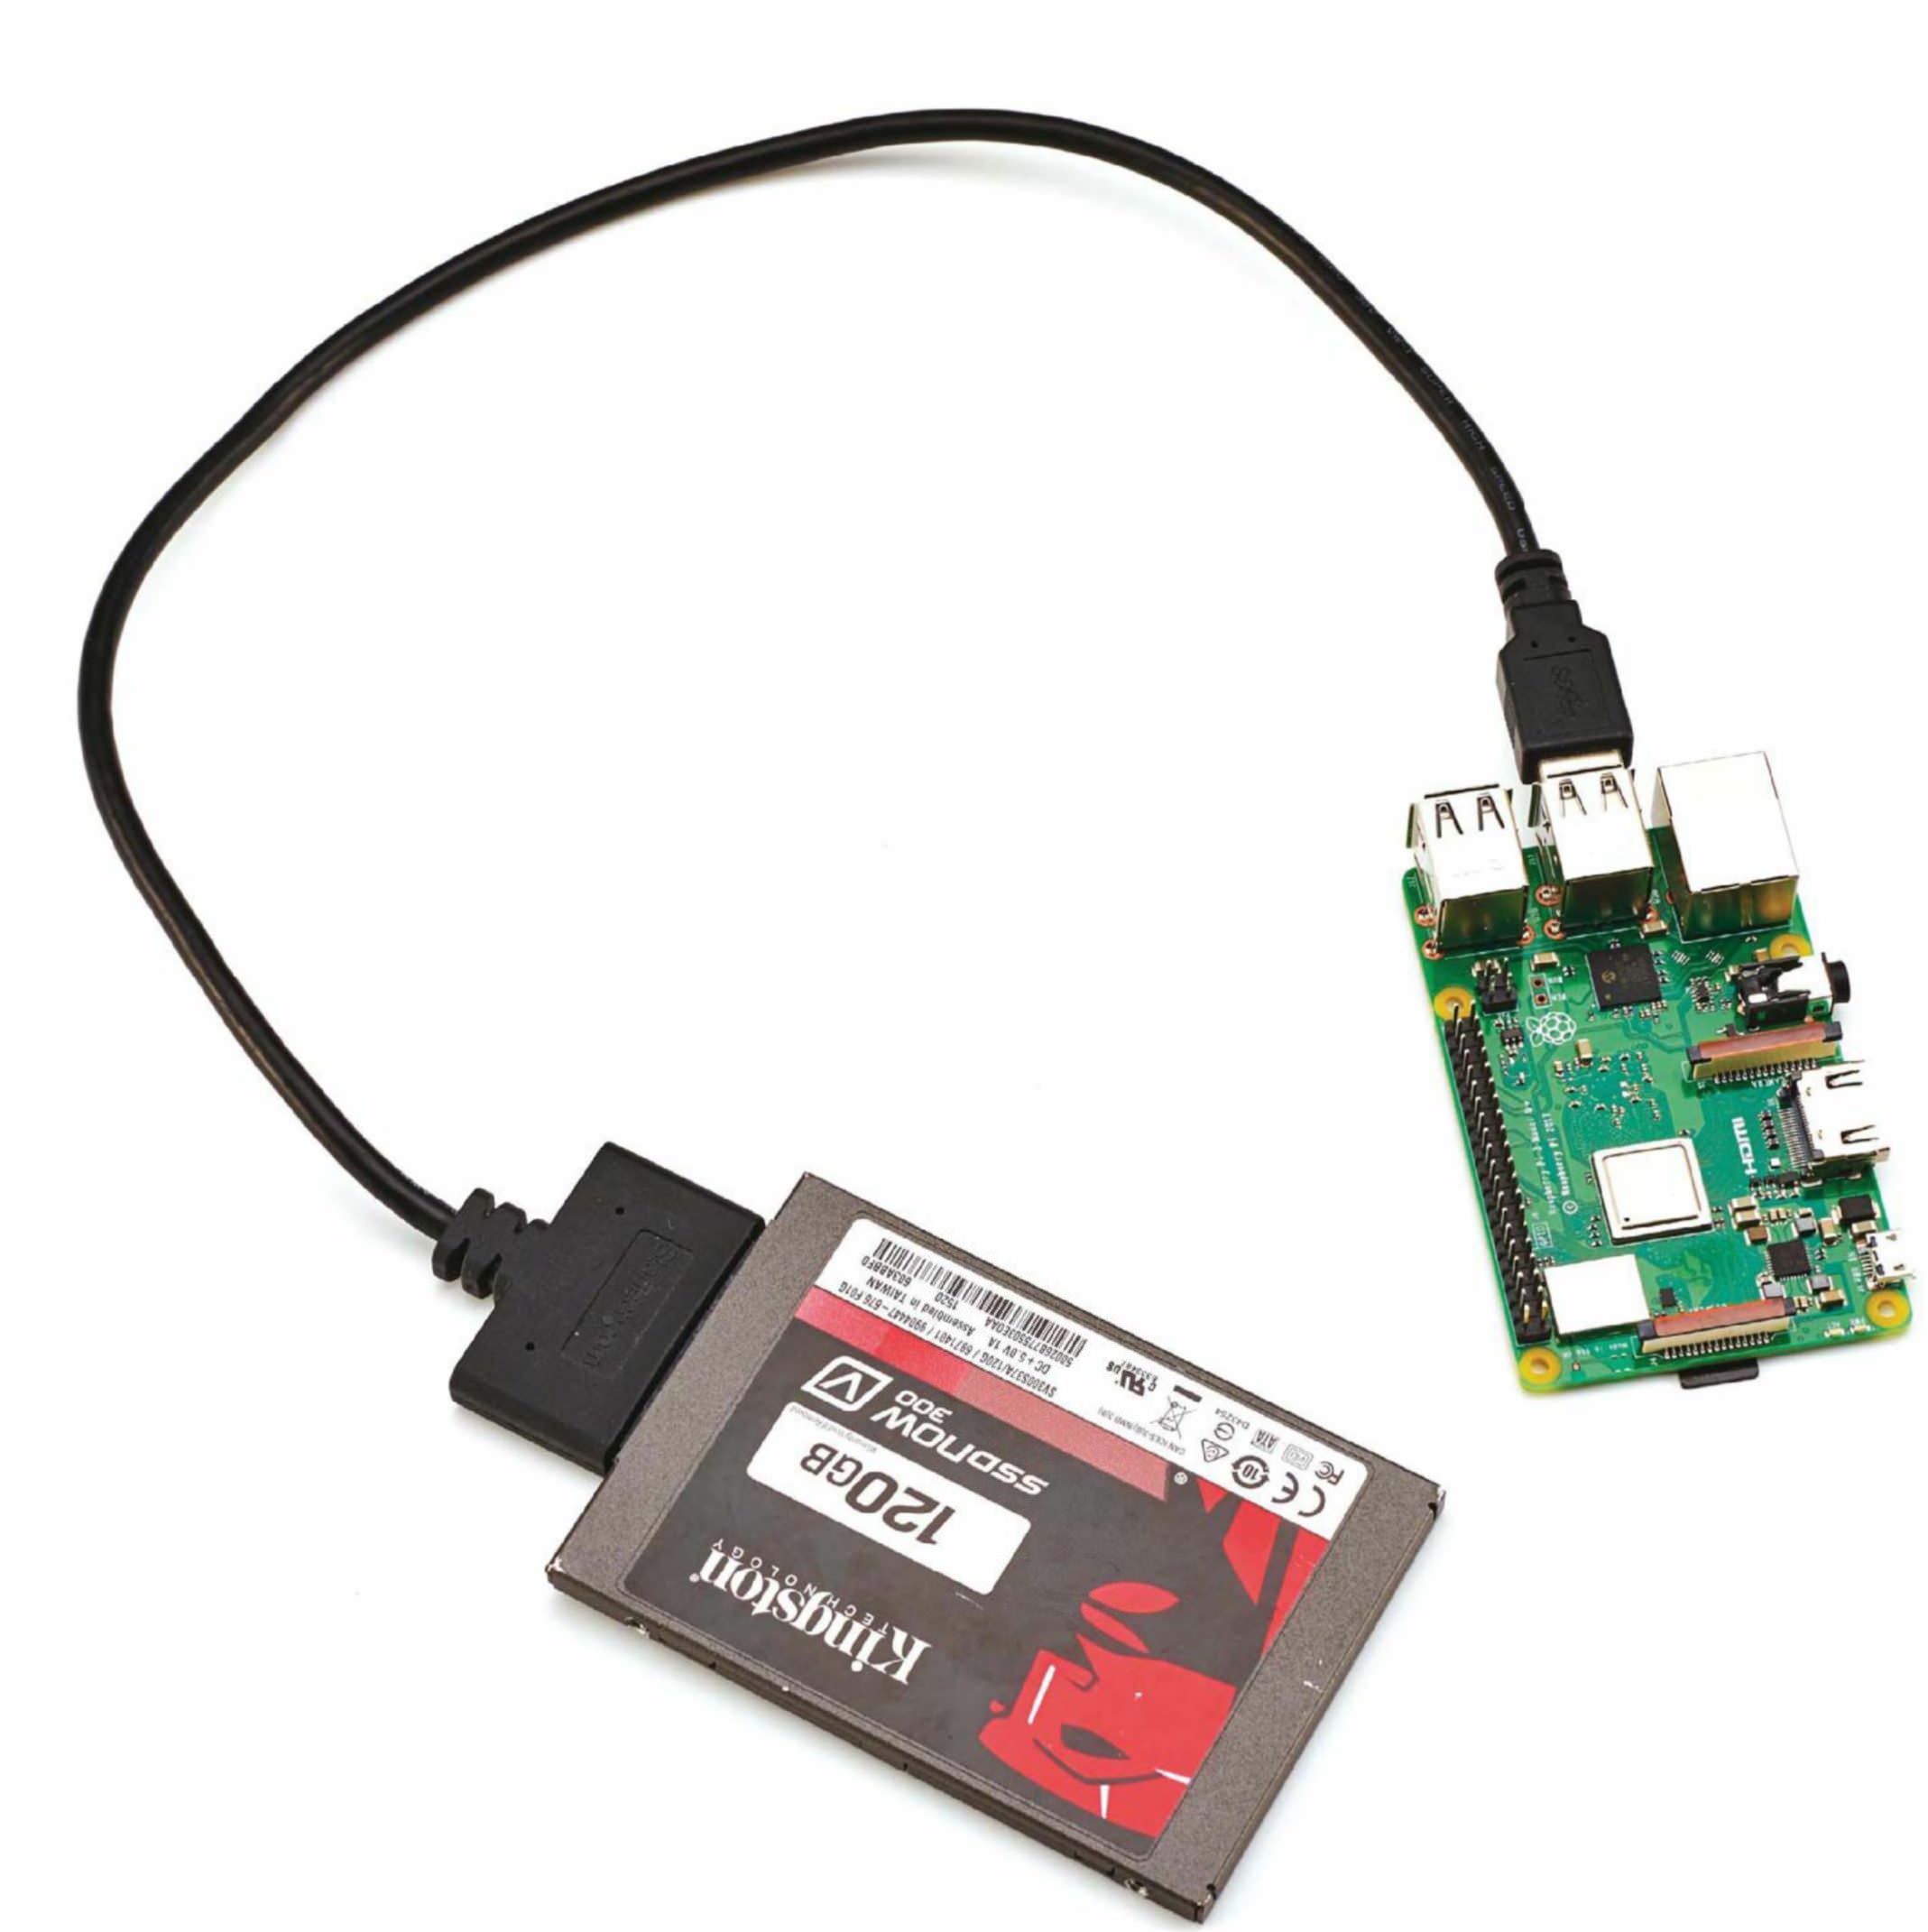
This tutorial explains how to take a USB mass-storage device, such as a flash drive or hard drive and boot up your Raspberry Pi 3 B+ using it. Once everything’s configured, there’s no longer any need to use an SD card – it can be removed and used in another Raspberry Pi. The benefits of this are that you can increase the overall storage size of the Pi from a standard 4GB-8GB to upwards of 500GB. A further benefit is that the robustness and reliability of a USB storage device is far greater than an SD card, so this increases the longevity of your data.
Before you begin, please note that this setup is still experimental and is developing all the time. Bear in mind too that it doesn’t work with all USB mass-storage devices; you can learn more about why and view compatible devices at www.raspberrypi.org/blog/pi-3booting-part-i-usb-mass-storage-boot.
01 How it works
This setup involves booting the Raspberry Pi from the SD card and then altering the config.txt file in order to set the option to enable USB boot mode. This in turn changes a setting in the One Time Programmable (OTP) memory in the Raspberry Pi’s system-on-a-chip, and enables booting from a USB device. Once set you can remove the SD card for good. Please note that that any changes you make to the OTP are permanent, so ensure that you use a suitable Raspberry Pi – for example, one that you know will always be able to be hooked up to the USB drive rather than one you might take on the road.
02 Download the latest OS image
Esta historia es de la edición Issue 47 de Raspberry Pi.
Comience su prueba gratuita de Magzter GOLD de 7 días para acceder a miles de historias premium seleccionadas y a más de 9,000 revistas y periódicos.
Ya eres suscriptor ? Conectar
Esta historia es de la edición Issue 47 de Raspberry Pi.
Comience su prueba gratuita de Magzter GOLD de 7 días para acceder a miles de historias premium seleccionadas y a más de 9,000 revistas y periódicos.
Ya eres suscriptor? Conectar
Access A Raspberry Pi Zero Using A Laptop
Configure OS settings and use the USB port to access both the command line and GUI from anothe computer
Draw Circuits With Paint
Assembling circuits has never been so easy with the joys of conductive paint, enabling you to bring together art and electronics in a whole new way.
Picture Perfect Pi
Using a Pi to infuse AI into a camera and shock users into taking beautiful photographs
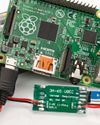
Add A Battery Pack To Your Raspberry Pi
Don’t leave your Raspberry Pi behind – incorporate it into mobile projects by powering it up using humble AA batteries
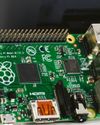
Print Wirelessly With Your Pi
Breathe new life into an old printer by using your Raspberry Pi as a wireless print server
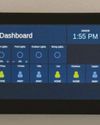
Open Source Smart Home Touchscreen
A stylish smart home project in San Francisco demonstrates an elegant interface for home automation without proprietary parts.

Kodak Pi Notification Lamp
Another mashup of retro and modern tech, this voice-activated Kodak lamp uses a Pi Zero W and Unicorn HAT.
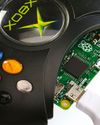
Xbox Zero Arcade Pt 1
Let’s make a self-contained arcade machine out of old bits of kit, a spare Xbox pad and a Pi Zero!
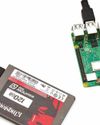
Boot Your Pi 3 B+ From USB
Configure and boot up your Raspberry Pi3B+ using a USB flash or hard drive
Create A Raspberry Pi Network With Piserver Tool
Use PiServer to easily set up a network of Pis connected to a central server, which you control.