
There is something very direct and satisfying about carving; making an object by removing material from a solid chunk until the shape that is left matches the vision you started out with. And while I enjoy the tap, tap, tap of working with a mallet and chisels, it can be a lot of fun to put the oomph of electricity behind your tools and spray chips with abandon as you quickly cut away the waste.
A number of tools on the market let you do just that. Most of them use an angle grinder for power with attachments to cut as well as sand. In this story, I’ll show you how to put these tools to use in making trays and bowls. A pattern for one of these bowls is available on p. 45, the other two are available online. But don’t feel limited by what’s shown here, you can employ these techniques to make nearly any shape or style of bowl or tray imaginable.
Carve the outside
Choose your material and lay out the overall shape of your piece. While hand carvers are somewhat constrained to using softer woods, power carvers are free to work with nearly any species. If you’re duplicating one of the designs presented here, download the patterns from the magazine website. Trace the shapes onto your blank and cut away the bulk of the waste at the bandsaw. Then shape the outside contours with a cutting disk before refining the shape with a grinding disk. While you could do all the shaping with this disk, cutting disks are much faster.
Tools for shaping
This story is from the {{IssueName}} edition of {{MagazineName}}.
Start your 7-day Magzter GOLD free trial to access thousands of curated premium stories, and 9,000+ magazines and newspapers.
Already a subscriber ? Sign In
This story is from the {{IssueName}} edition of {{MagazineName}}.
Start your 7-day Magzter GOLD free trial to access thousands of curated premium stories, and 9,000+ magazines and newspapers.
Already a subscriber? Sign In
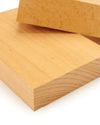
Beech
Plain looks, but a solid performer
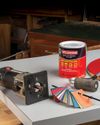
Working with PLASTIC LAMINATE
Adding a durable, smooth, and colorful surface to your work
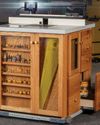
High-Tech ROUTER TABLE
A state-of-the-art shop essential
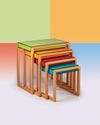
Albers-Inspired NESTING TABLES
A colorful array of Bauhaus utility

Desktop ORGANIZERS
Mini modules for your modern workspace
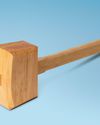
Joiner's MALLET
A hard-hitting shop hammer
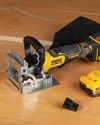
Battery-backed biscuiting
DeWalt 20V Max XR Biscuit Joiner
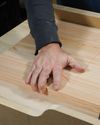
Crosscut SLED
A basic build of a crucial table saw accessory
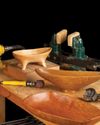
Power-carving BOWLS
Tools and techniques for sculpting

Library STEPS
Mitered box joints give rise to an updated classic