試す 金 - 無料
SLED INTO SUCCESS WITH SEGMENTED BOWLS
Wood
|July 2024 - Issue 296
Start your journey toward creating beautiful bowls with the first critical step: accurately cutting and assembling the angled segments.

Making segmented bowls starts with cutting strips of wood into small pieces, then gluing those small pieces together to form rings. Stack the rings, and you can create bowls and vessels with striking appearances. Forming rings with tight-fitting joints requires accurately cutting those segments with consistent lengths and angles. The key to success: a tablesaw sled with two fences. We'll show you how to calculate the correct angles for a basic bowl, build the sled, cut segments, and glue them into rings.

IT'S ALL IN THE ANGLES
Creating rings starts with determining how many pieces (segments) you want in each ring, using simple math. Start with 360, the number of degrees in a complete circle. Then divide by the number of segments you want. For simplicity, choose an even number that divides easily into 360.
A basic bowl made up of rings with 12 segments offers an easy way to get started. Divide 360° by the number of segments to determine the overall angle formed by their intersection (360°/12-30°). Dividing that number by 2 determines the angle to cut on each end of every segment (30°/2=15°). The chart on page 63 shows angles for rings with different numbers of segments.

LET'S GO SLEDDING
With your angles determined, build a tablesaw sled to cut the segments. Before you begin, make sure that your blade sits at 90° to the saw table, and that the blade is parallel to the miter gauge slot.
このストーリーは、Wood の July 2024 - Issue 296 版からのものです。
Magzter GOLD を購読すると、厳選された何千ものプレミアム記事や、10,000 以上の雑誌や新聞にアクセスできます。
すでに購読者ですか? サインイン
Wood からのその他のストーリー
Wood
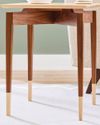
SOCK-LEG TABLE
Build this accent table and try your hand at an uncommon technique for dressing up tapered legs.
3 mins
July 2024 - Issue 296
Wood
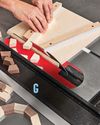
SLED INTO SUCCESS WITH SEGMENTED BOWLS
Start your journey toward creating beautiful bowls with the first critical step: accurately cutting and assembling the angled segments.
3 mins
July 2024 - Issue 296
Wood
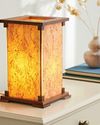
VENEER-SHADE LAMP
Get ready for warm and glowing reactions to this lamp. It makes sheets of veneer and bits from your scrap bin really shine.
4 mins
July 2024 - Issue 296
Wood
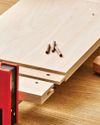
BREADBOARD ENDS DONE RIGHT
This traditional method for concealing end grain relies on a hidden trick to work properly. Find out the \"hole\" story behind breadboard ends with this time-tested method.
3 mins
July 2024 - Issue 296
Wood
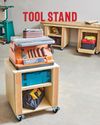
TRANSFORMABLE TOOL STAND
Simple but sturdy, this mobile stand can hold a benchtop power tool. Build two stands and you can stack them or pair them as pedestals for an add-on workbench top.
3 mins
July 2024 - Issue 296
Wood
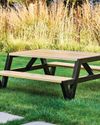
MODERN PICNIC TABLE
Serve up some style at your next cookout or outdoor party with this eye-catching table and bench combo.
3 mins
July 2024 - Issue 296
Wood
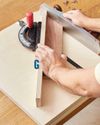
MITER-GAUGE SHOOTING BOARD
Build this shooting board in an afternoon; use it for a lifetime to produce gap-free joinery with just a few strokes of a hand plane.
1 mins
July 2024 - Issue 296
Wood
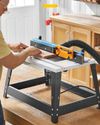
BENCHTOP ROUTER TABLES
Can compact tables deliver big-time routing features and performance? We tested 11 benchtop models to find out.
5 mins
July 2024 - Issue 296
Wood
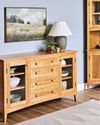
CLASSIC CHERRY SIDEBOARD
A plywood carcase provides a quick-to-build foundation for the dovetailed drawers and mortise-and-tenon doors.
5 mins
July 2024 - Issue 296
Wood
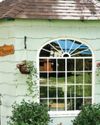
STUDIO? WOOD SHOP? YES!
Don't mistake this backyard shed as a high-end home for garden tools. Instead, you'll find an efficient, well-lit, and comfortable workshop inside.
2 mins
July 2024 - Issue 296
Listen
Translate
Change font size
