Prøve GULL - Gratis
Cable Management
The Complete Build Your Own PC Manual
|July 2020
Although it may seem that taking time to tidy internal cables out of sight is simply down to personal preference, and how pretty you want your PC to look through that windowed side panel, but good cable management is increasingly seen as important for the welfare of your PC. Good airflow from the case fans is essential for keeping temperatures down and as thin as they may be, cables strewn all through the case will disrupt it.
-
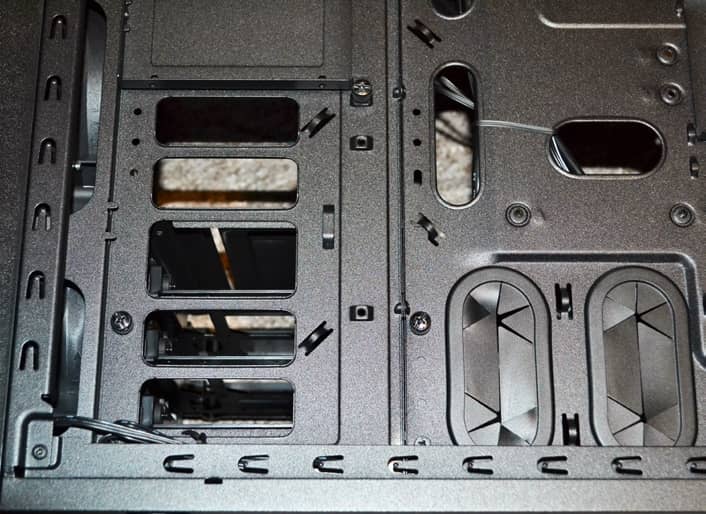
Planning Cable Routes
The amount of cable management you can do depends on the case you have chosen to use. Our Thermaltake case provides several options but this will vary greatly.
STEP 1
For a relatively cost-effective case, the Thermaltake Core V31 we are using provides exceptional cable management options. There are two large apertures at the bottom of the side panel, both protected by rubber grommets, through which we can feed all of the cables from the PSU. Our cables are sheathed anyway but the rubber further protects them from being damaged by the metal edges.
STEP 2

Once the cable bundle is fed through the fixed side panel, we can start feeding the individual cables into wherever they are needed. They can then be fed back through any convenient hole, so that the connectors are back in the main compartment and ready to be plugged in. When you are doing this, take a moment to ensure that the removable side panel will fit back on with the cables here.
Denne historien er fra July 2020-utgaven av The Complete Build Your Own PC Manual.
Abonner på Magzter GOLD for å få tilgang til tusenvis av kuraterte premiumhistorier og over 9000 magasiner og aviser.
Allerede abonnent? Logg på
FLERE HISTORIER FRA The Complete Build Your Own PC Manual
The Complete Build Your Own PC Manual
Do You Need An Optical Drive?
Building a PC a few years ago without an optical drive would have seemed like madness. It would have made using the PC fairly difficult as most software was supplied on discs and Internet speeds were not really up to the task of downloading large files such as games. Nowadays, almost everything you might want to install on your PC can be bought electronically and discs are becoming somewhat obsolete. So do you actually need to install a CD/DVD drive?
2 mins
January 2021
The Complete Build Your Own PC Manual
The Right RAM
A fast and easy way to add a performance boost to your PC is to install high quality, fast RAM (Random Access Memory). DDR4 is the latest variation of PC memory and is the fastest and most efficient yet but just like many other components in your build, RAM isn’t quite as simple as it might at first seem. Different motherboards support different maximum amounts, as do different operating systems and it is available in many different speeds and configurations.
5 mins
January 2021
The Complete Build Your Own PC Manual
Expansion Cards and Extras
Expansion cards are technically any printed circuit board that can be added to the system to add functionality or features. This means that a graphics card is an expansion card, albeit a fairly fancy one, and you can run a PC without including one, assuming the motherboard has on-board graphics. Here we will look at some of the other expansion card options you may want or need in your build.
2 mins
January 2021
The Complete Build Your Own PC Manual
Fitting The Motherboard Into The Case
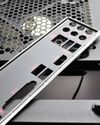
If you have been following the steps of the build so far, you should now be in a position to fit the motherboard, along with the fitted CPU, cooler and RAM, into your prepared case. This not only involves screwing the board into place but also correctly connecting all the case controls like the power switch, HDD LED, front USB ports etc.. Your motherboard will also have been supplied with a back plate.
4 mins
January 2021
The Complete Build Your Own PC Manual
Troubleshooting Your Build
Hopefully, if you have followed all of our instructions carefully, you won’t have any problems during the first boot of your new PC. However, problems can and do occur, even for experienced builders. The difference between a beginner and an experienced builder is the ability to solve problems and troubleshoot the PC build. If you have a problem with your computer, it will likely be one of these.
5 mins
January 2021
The Complete Build Your Own PC Manual
Preparing the Case
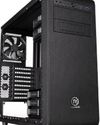
Choosing a case used to be almost an afterthought when building a custom PC. One grey box was much the same as another grey box. Thankfully the days of grey boxes are well and truly over and our choice of PC case ranges from tiny media boxes designed to go next to a TV, to bespoke glass towers aimed at those who want to show off their perfectly co-ordinated components. However, whichever case you choose, some preparation is needed before beginning your build.
2 mins
January 2021

The Complete Build Your Own PC Manual
Upgrading to Windows 10 from Windows 7 or 8.1
If you have an existing copy of Windows 7 or 8.1 on disc, not being used on another active PC, you can use this for the initial install of Windows and then upgrade to Windows 10 afterwards or at a later date. You have missed the deadline for the free upgrade to 10 but it is quite likely that Microsoft will reopen that offer, or run similar discounted offers, for their new OS in the near future. This guide assumes you are taking this route to Windows 10, rather than a fresh install.
6 mins
January 2021
The Complete Build Your Own PC Manual
Need More Power?
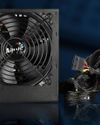
The role of a PC power supply unit is to convert the AC electric power that comes from the mains to the DC power that the computer requires. However, it can do much more than that. A good quality power supply can make your system more efficient, stable and reliable. The power supply is often the first component to fail in an older system, so making sure you understand the full role of the PSU in your build is very important.
5 mins
January 2021
The Complete Build Your Own PC Manual
Navigating Your Motherboard
We will be referring to specific parts of the motherboard in detail as we work our way through the build but for now it is a good idea to familiarise yourself with how a standard motherboard is laid out, where the sockets and ports will be, and what they look like. There will be some slight variations in location of sockets and features between different motherboards but most will follow this general layout pattern.
6 mins
January 2021
The Complete Build Your Own PC Manual
Final Checks and First Boot
If you have followed all of the build steps thus far, you should now be at the point where the first boot up is looming. Before you do, it is worth going back and checking that everything is ready, all cables are connected and everything is looking good. First boot doesn’t mean that you can’t go back and change things later but you can avoid problems by doing a few simple checks.
5 mins
January 2021
Translate
Change font size

