Denemek ALTIN - Özgür
Harness of white balance the power
Digital Camera UK
|January 2023
Use Camera Raw and Lightroom’s tools to add temperature shifts and fix casts

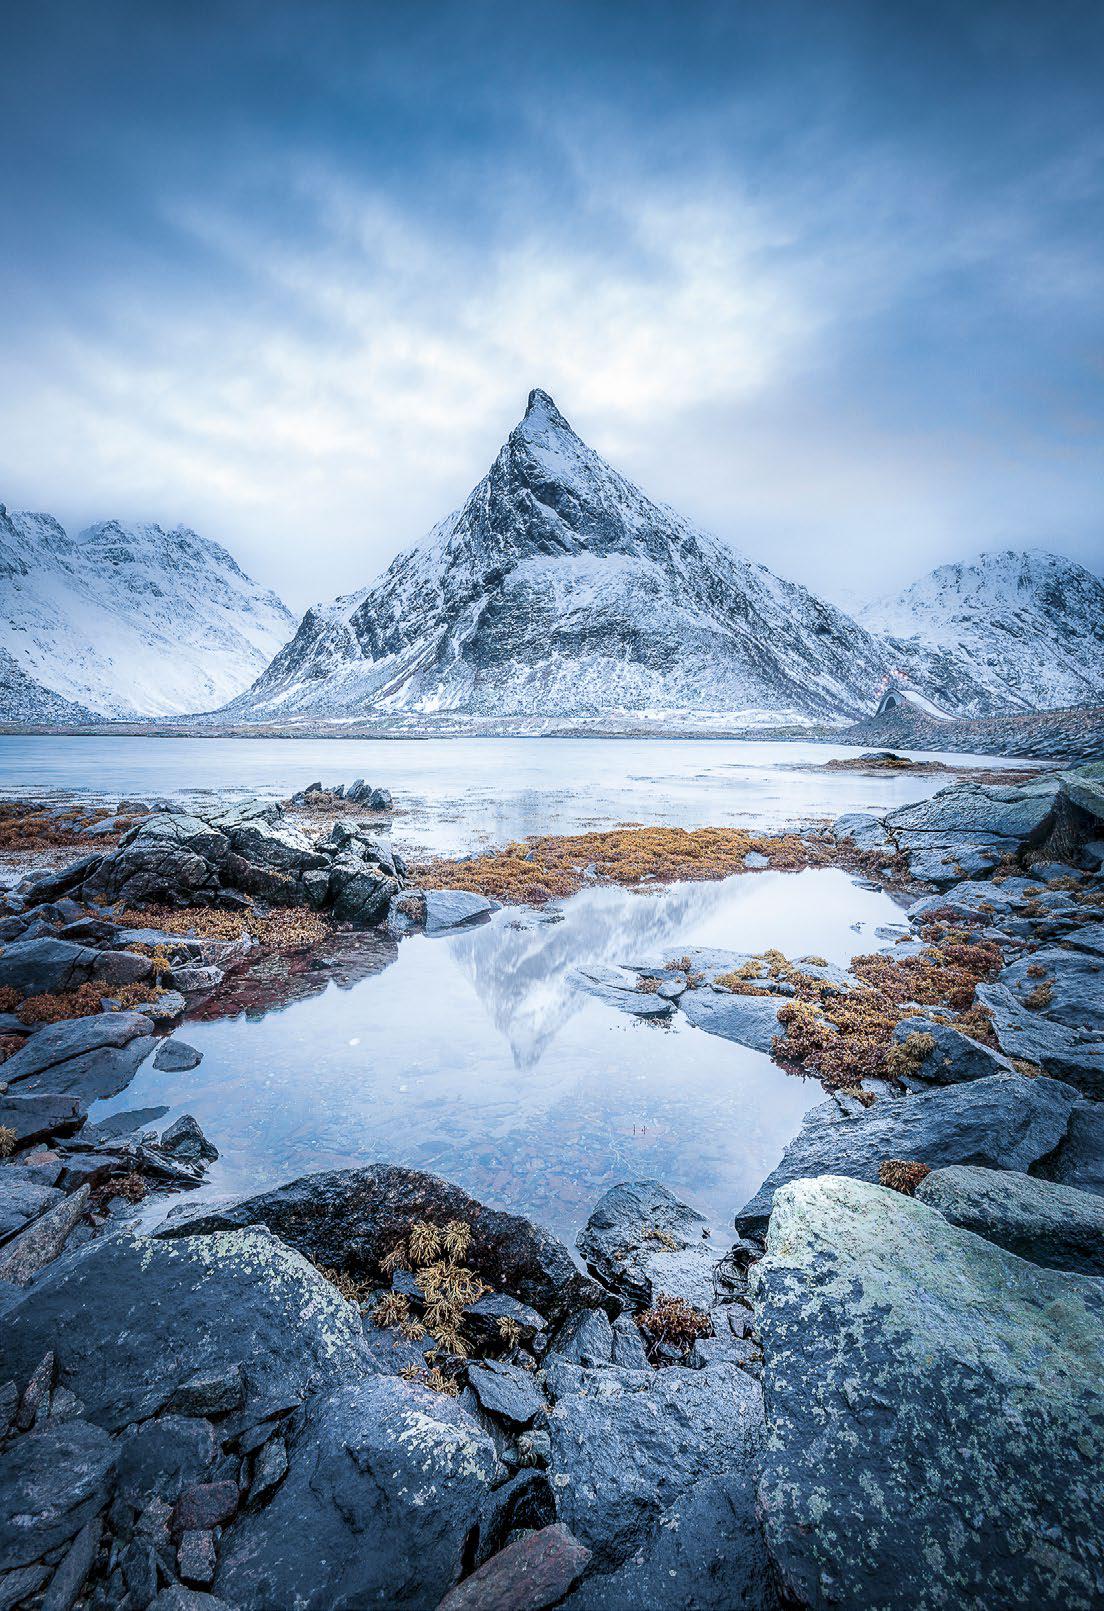
There’s more to white balance than getting the whites balanced; it’s about every colour in the image. There are two ways to do this: you can set the white balance in the camera, or shoot in raw and set it afterwards with the same results. The best practice is to set it in-camera, but sometimes this isn’t practical. By shooting in raw, you can leave your white balance to Auto WB, safe in the knowledge that you can tweak it afterwards if necessary.

Photoshop’s Camera Raw and Lightroom offer near-identical white balance tools, either in the Basic panel in Camera Raw or the Develop module in Lightroom. The tools are very simple, but there are some essential tricks to learn that can help you get the most out of them. What’s more, one of the great things about white balance tools is how you can use them selectively in different areas of the photo. With a landscape like the one pictured above, it means we can pull out a touch of warmth in the sky while also correcting the overall cool cast to the scene.

Max the saturation
Bu hikaye Digital Camera UK dergisinin January 2023 baskısından alınmıştır.
Binlerce özenle seçilmiş premium hikayeye ve 9.000'den fazla dergi ve gazeteye erişmek için Magzter GOLD'a abone olun.
Zaten abone misiniz? Oturum aç
Digital Camera UK'den DAHA FAZLA HİKAYE

Digital Camera UK
Fujifilm X-E5
This could be the best camera yet in the brand's X-E line
6 mins
January 2026

Digital Camera UK
Get to grips with Gradient Maps
Discover new ways of colour toning your images in Photoshop, with Wendy Evans
1 mins
January 2026

Digital Camera UK
Gritty urban edits
Sean McCormack explains how to boost your cityscape shots with Lightroom tools
2 mins
January 2026

Digital Camera UK
Affinity
Free (in-app purchases apply) Affinity Photo, Designer and Publisher rolled into a single app
4 mins
January 2026

Digital Camera UK
Mike Taylor
The award-winning photographer has just published a book about how to succeed in the medium.
7 mins
January 2026

Digital Camera UK
Hotshots
The winners of 'Power', the 14th season of the Hamdan bin Mohammed bin Rashid Al Maktoum International Photography Award (HIPA)
2 mins
January 2026

Digital Camera UK
Let's make a movie
Your digital camera is ideal for creating stop-motion animation as Wendy Evans explains
2 mins
January 2026

Digital Camera UK
Make your Golden Hour shots pop
Give your sunrise and sunset shots a stylish blast of effects in Photoshop to enhance those colourful skies
2 mins
January 2026

Digital Camera UK
Street challenge
Send us your best shots of unposed life on the street
1 mins
January 2026

Digital Camera UK
Capture a winter owl
Don't let snowy conditions put you off. Here's how to capture these magnificent birds
2 mins
January 2026
Translate
Change font size
